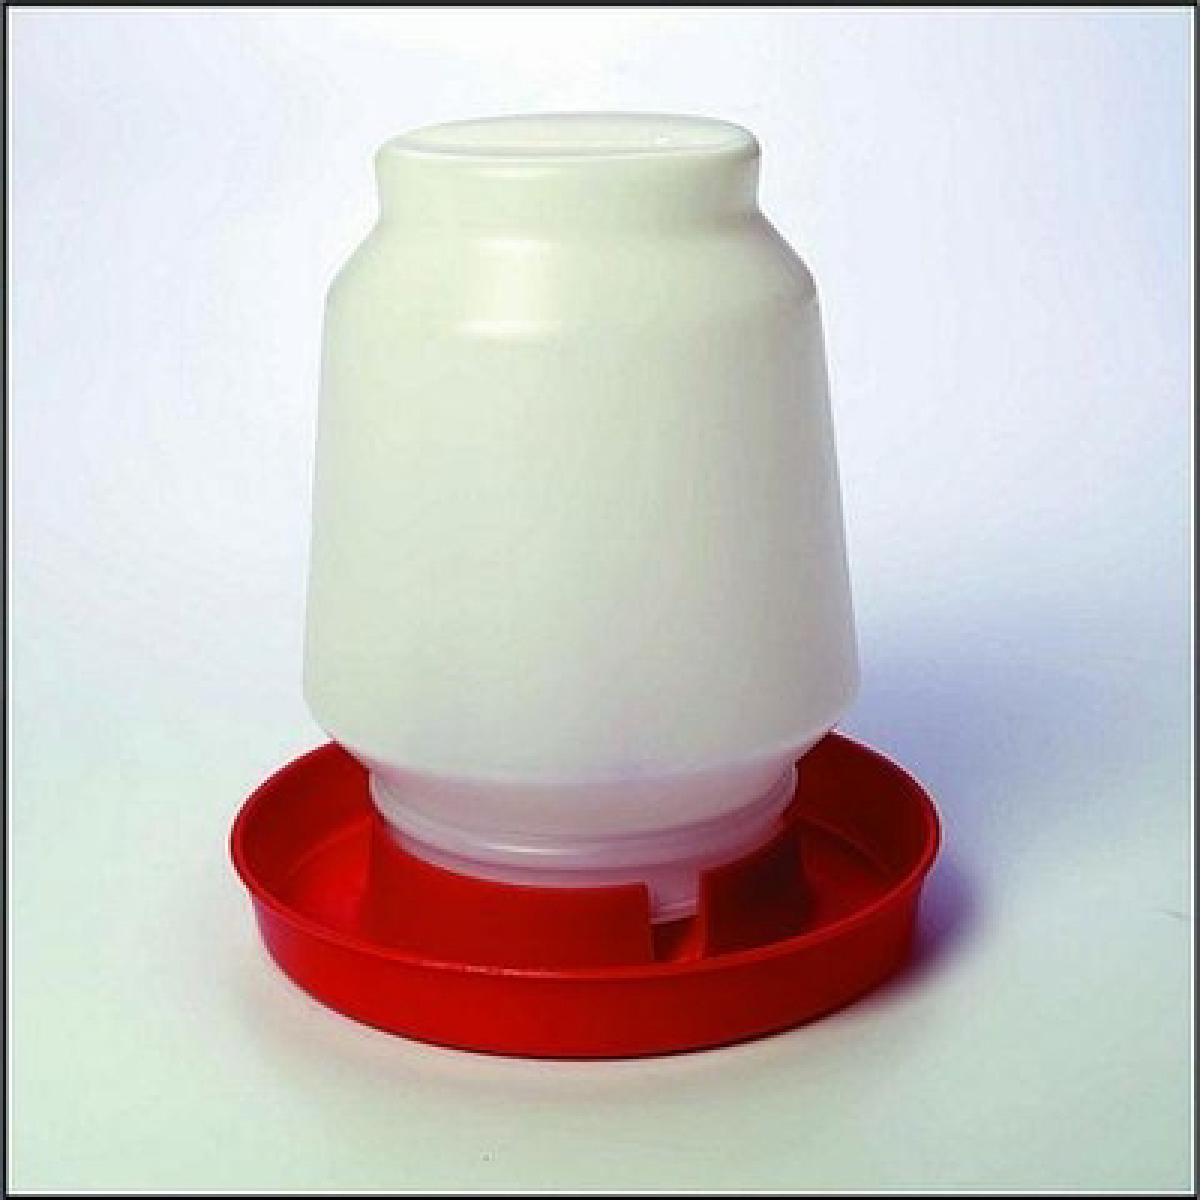
We were using a traditional gravity waterer to water our chickens. Unfortunately, chickens don’t really adhere to standards of hygiene that we’d like them to. The watering tray would be filled with feathers, straw, dirt and poop after a day of drinking and scratching in the run. The other downside was that it was providing water for the neighborhood rats. We also tried an automatic waterer that uses a float, but we still had the same problems with pollution and access, and the float would jam.
A nipple waterer solves the problem of hygiene by keeping the water supply apart from the environment and cuts down on waste. Building one is simple enough. You will need:
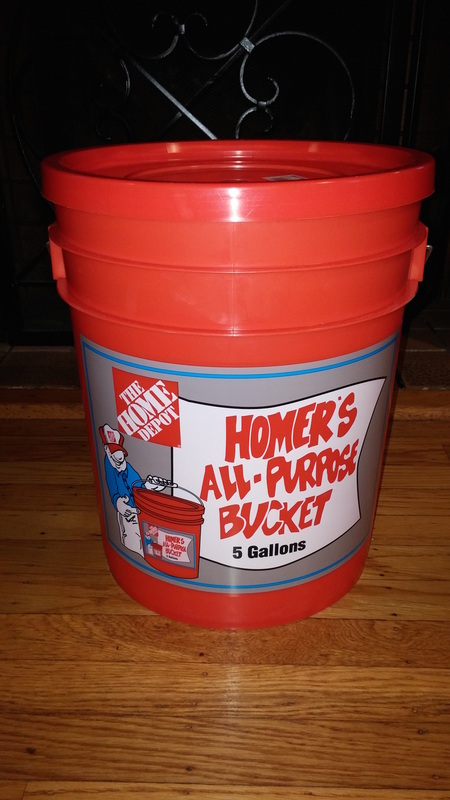
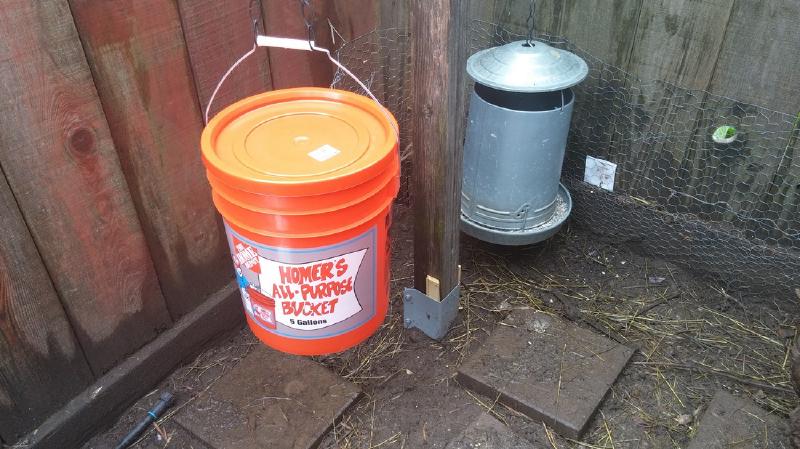
You don’t need to use a five gallon bucket specifically. Any clean, sturdy plastic container will do. The Home Depot variety has a handle and stores an ample amount of water.
You will need to devise a method of either hanging or mounting the waterer after it is complete.
Give your chickens a healthy boost by adding raw apple cider vinegar to the water. Add 1 tablespoon per gallon. It helps keep the water algae free and has trace nutrients beneficial to your chickens. Read more about it here and here.
A bucket! Five gallons is a bit overkill, but you can use any sturdy plastic container with a top.
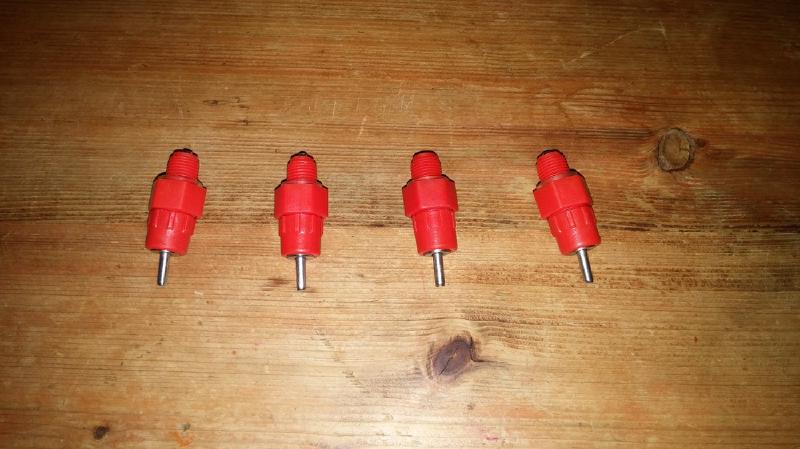
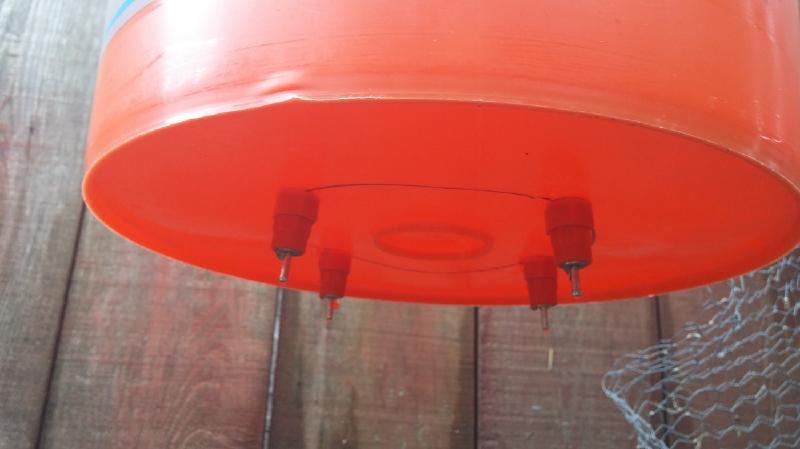
The nipples can be purchased from feed supply stores or online for about $5 for 10. We’re using the threaded style. Four is a good number for upwards to 10 chickens. We’ll spoil ours by giving them each their own.
This is what they look like on the inside. It’s a simple ball valve actuated by the little metal rods.
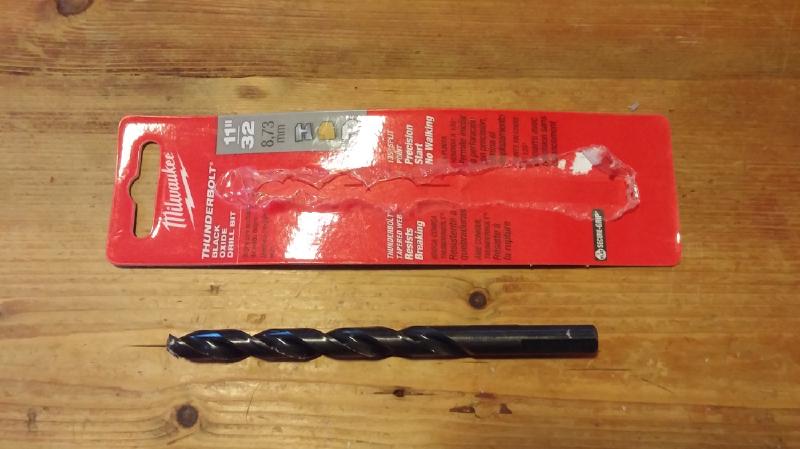
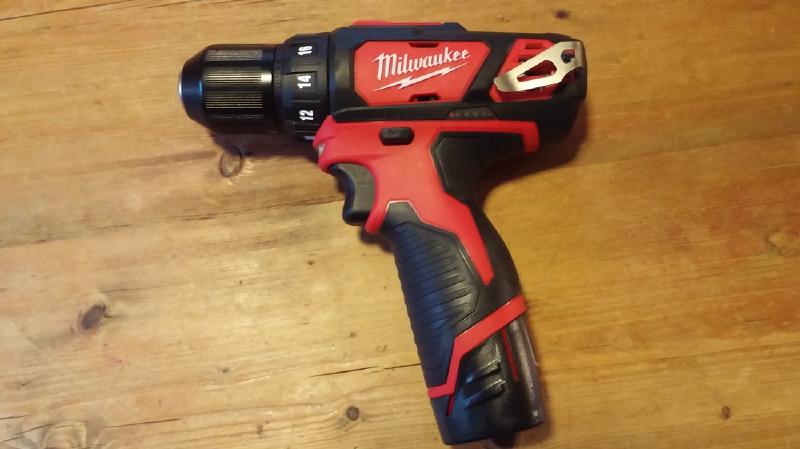
An 11/32" drill bit. This should create a big enough hole in the bucket to thread the nipples into.
An electric drill.
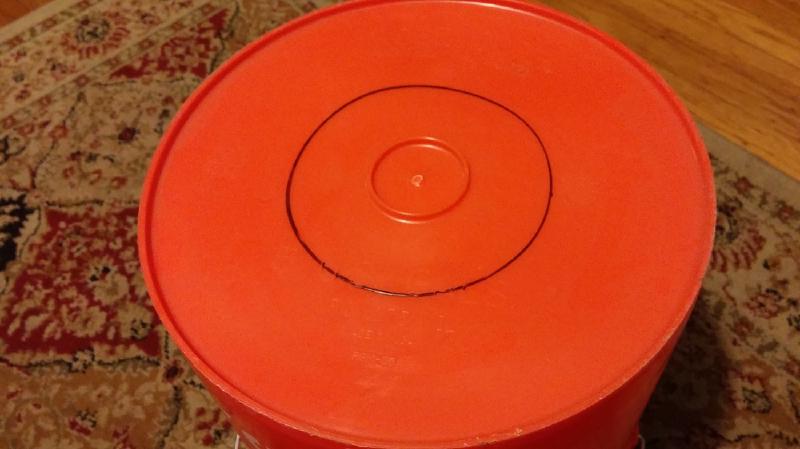
Exact placement of the nipples isn’t required, but I drew a concentric circle about 4 inches in diameter where I would drill four equidistant holes along the circumference.
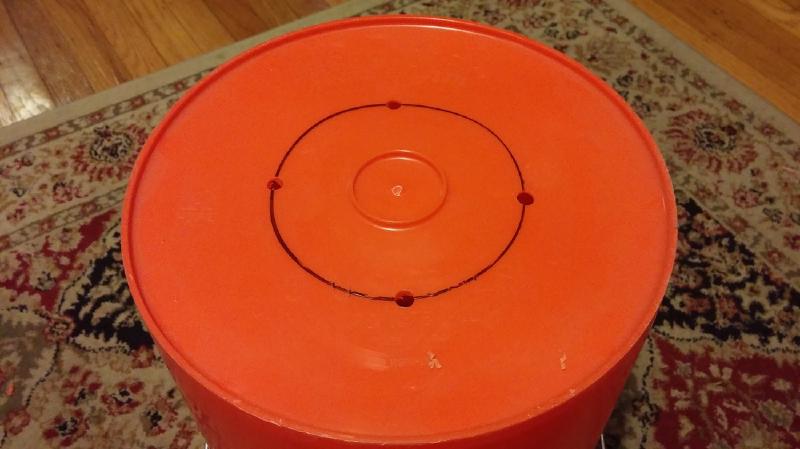
Normally, I’d recommend drilling pilot holes before using a larger drill bit, but the rigid plastic lends itself to catching the bit pretty quickly. Additionally, a new, sharp bit makes quick work of drilling the hole. Some initial pressure is required to hold the bit in place, but after it bites, it gets sucked in pretty quick.
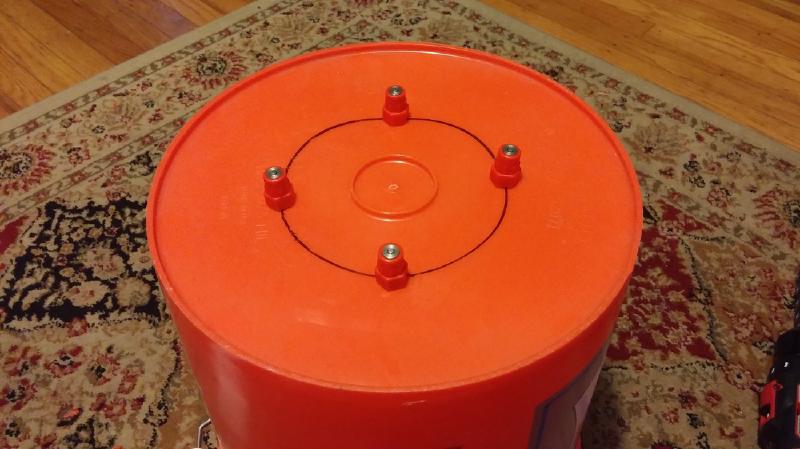
You can insert the nipples by hand. You need to apply moderate pressure for the threads to catch in the holes. Then hand tighten each one. Be sure NOT to strip the threads on the nipples.
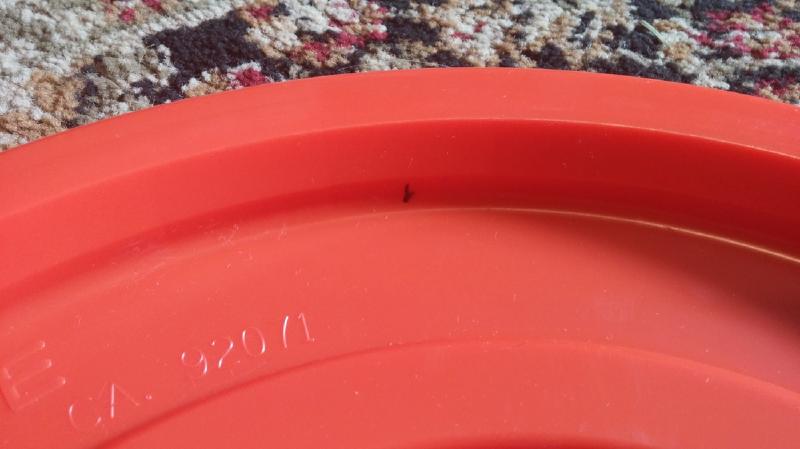
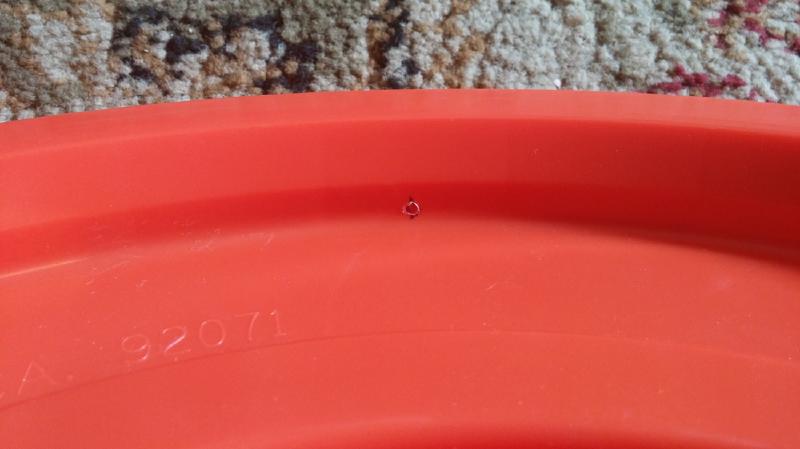
On the cover of the bucket, mark a hole on the top of it or, if you have a space between the lip of the bucket and the cover, on the side (as shown).
Drill a small hole to allow air to escape as water flows out of the waterer.
Here it is, hung and in action. Wait, what?
A view of the underside.
Ramona says: “WTF, Dave? I don’t like change.” She’s a good chicken.